DIY: Checklist For Making Your Own Vape Juice
Posted by Ryan G. on December 5, 2019

Vaping and e cigarettes are used to help people quit smoking cigarettes. Traditional cigarettes contain more nicotine per weight than vape juice and also contain unnatural chemicals. These vaping devices work by heating up nicotine juice into vapor form. At one point or another, many vapers entertain the idea of making their own e-liquid from scratch by becoming DIY vapers.
Besides the fact that this can be a very enjoyable hobby, it can also help you save lots of money. But it can’t be denied that the idea of making e juice from scratch can be extremely intimidating at first.
DIY: How to make vape juice
That’s why we’re here today. We’ve made a very simple, step-by-step guide to creating your own batch of e-liquid with the proper ingredients and equipment. As you’ll see, it’s not nearly as intimidating or laborious as it sounds. By following this guide, you’ll be well on your way to becoming a DIY vaping pro in order to enjoy using your favorite electronic cigarette, pod system, vape pen, or even a box mod.
Step #1: Grab the right ingredients
The first thing that you’ll need to do is choose the right ingredients for your vape juice. You can find these ingredients at most vape shops and vape wholesalers.
· Vegetable Glycerin (VG): VG is one part of the base of any vape juice recipe, and it’s a thick ingredient that allows for denser clouds. Choose a food or pharmaceutical grade VG, and buy a big batch as you’ll be going through a lot.
· Propylene Glycol (PG): PG is the other part of the e-liquid base, and it’s much runnier than VG. It prevents the vape juice from being too thick to vaporize properly. Again, make sure that it’s of a food or pharmaceutical grade, and grab a nice, big bottle.
· Flavoring: You’re going to want to splurge a bit here, as the higher the quality of the flavoring extracts, the better-tasting your e-liquid will be. Go with a nice variety of different flavoring extracts so that you can make a decent range of juice flavor profiles.
· Nicotine: You can choose between two types of nicotine content: nicotine salt / salt-based and freebase. Again, quality is important when it comes to liquid nicotine juice.
Step #2: Grab the right equipment
Now, let’s talk about the equipment that you’ll be needing.
· Measuring Equipment: Measuring beakers of different sizes are necessary as you’ll need to carefully measure out each ingredient carefully. If you are off with your measurements, the formula may be unable to be vaped.
· Safety Equipment: Gloves and goggles are absolutely necessary as nicotine can be very dangerous if it encounters the skin.
· Syringes: Syringes are great for carefully and precisely transferring ingredients between batches and bottles.
· Empty Bottles: Stock up on These.! You’ll need large bottles for big batches and bases, and small bottles for individual bottles of vape juice that are travel-friendly. Go with BPA-free plastic or glass. Again, quality matters here.
· Stirring Equipment: Stirring equipment is necessary so that you can mix your ingredients together in a way that produces a homogenized formula. Any standard mixing spoons will do.
Step #3: Set a designated workstation
Now, it’s time to create your DIY vape juice workshop. We recommend doing this in a place that’s separate from the living spaces of your home, as in a garage, basement or shed. This is because making vape juice can be messy, and nicotine can be extremely dangerous if it comes into contact with your loved ones, especially children and pets.
Step #4: Practice safety
Again, safety is very important. First, you want to make sure that you’re wearing your goggles and gloves when handling nicotine. You also need to make sure that your skin is completely covered as nicotine can burn the skin on contact.
Step #5: Know the proper formulations
Now, let’s talk about the basic formula for an e-liquid recipe.
First, you prepare your base of VG and PG. As an experienced vaper, you already know a bit about how different VG/PG ratios affect your vapes, so choose a base ratio that best meets your needs. Remember that the higher the VG, the bigger the clouds, and the lower the VG, the stronger the throat hit and more robust the flavor.
Next, add your nicotine. If you’re using salt-based nicotine, we suggest going with 5 percent. This is the standard salt nic concentration in vape juices. If you’re using freebase nicotine, however, things are a little different as there’s a much wider range of nicotine strengths from which you can choose. For instance, if you’re used to vaping 6mg freebase nic e-liquids, you’ll want your formula to have 0.6 percent nicotine. If you vape 18mg freebase nic e-liquids, you’ll go with a formula that has 1.8 percent nicotine.
Finally, it’s time to add your flavoring. Most vape juice recipes call for 10 percent flavoring compared to the rest of the ingredients. More than that can be overpowering, and less than that can be too weak. But, each vaper is different, so you may want to make very small adjustments to the amount of flavoring that you add.
Step #6: Check out recipes
Now, you can begin to explore different recipes. We always recommend practicing some recipes that you find online before creating your own. This allows you to get a feel for how different flavors interact with each other. And, we recommend that you start simple by going with a flavor that contains a fewer number of different extracts. For example, rather than trying to create a pineapple upside-down cake with caramel sauce, go for a pineapple and coconut flavor.
Step #7: Make your first batch
It’s finally time to make your first batch of vape juice. We suggest making a small batch for the first few times, as beginners are more prone to making mistakes, and you don’t want to throw out a huge batch of e-liquid and waste all of that money.
Follow a recipe that you’ve found, and carefully stir everything together in a larger bottle. Then, taste the flavor and decide if it needs any adjustments. Make small adjustments as these are easier to fix than large adjustments.
Now, once satisfied with a batch that you’ve made, you can label the bottle with the date and the recipe. This will be good for reference at a later time. Then, you can divide it into smaller bottles that you can take with you.
Step #8: Build from there
Once you’ve gotten down the basics of making e-liquid, basically finding that sweet spot, you can begin branching out by making more complicated flavors and experimenting with different nicotine strengths and VG/PG ratios. Always label your batches carefully in order to stay organized.
Become a DIY Vape Juice Pro in No Time At All
If you wanna start enjoying the many benefits of making e-liquid from scratch, use this guide as a reference. We’ve outlined each step of the process in a way that’s easy to understand. Also, using a juice calculator can be another awesome tool to have. This liquid calculator will allow you to figure out the right scaling for your specific liquid flavors batch. There are sites out there that offer online calculators.
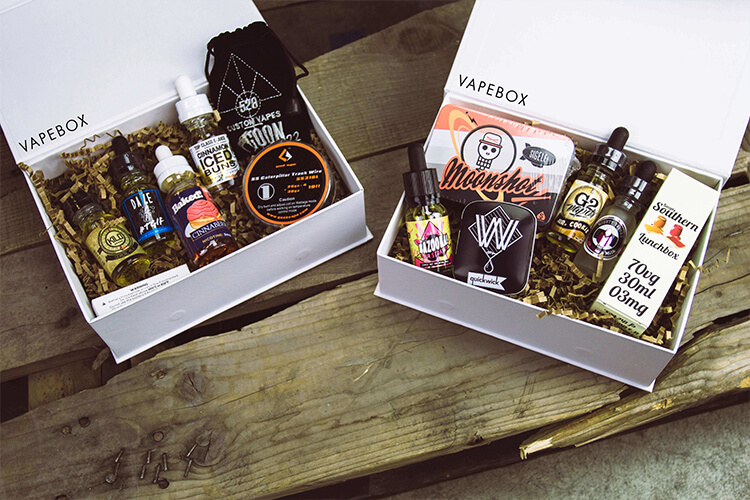
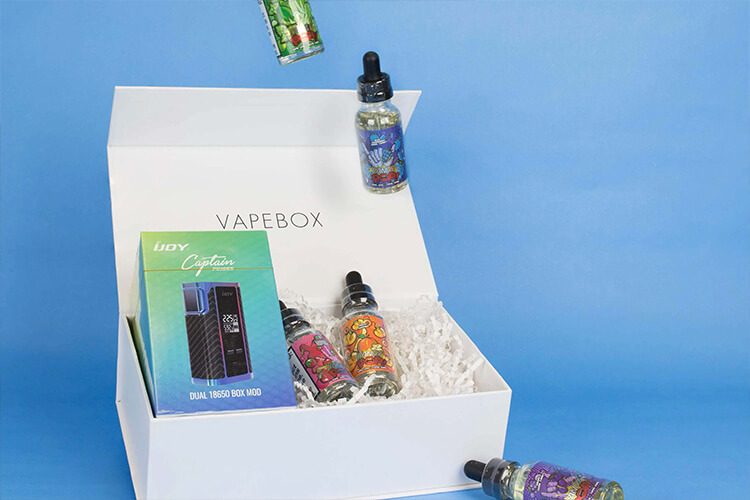
We are running a free e-liquid promotion for a limited time in 2019. Vapebox offers e-juices and hardware that you'll need to start vaping. Check out our selection of box mods, vape batteries, vape tanks, vape starter kits, and more!
Keep a lookout for our next blog down the line as we'll touch upon diluted nicotine and concentrated nicotine. Good luck with your liquid recipes and overall juice-making journey!
Get vape juices curated just for you.
Join the club »